Penguin Free Amigurumi Pattern
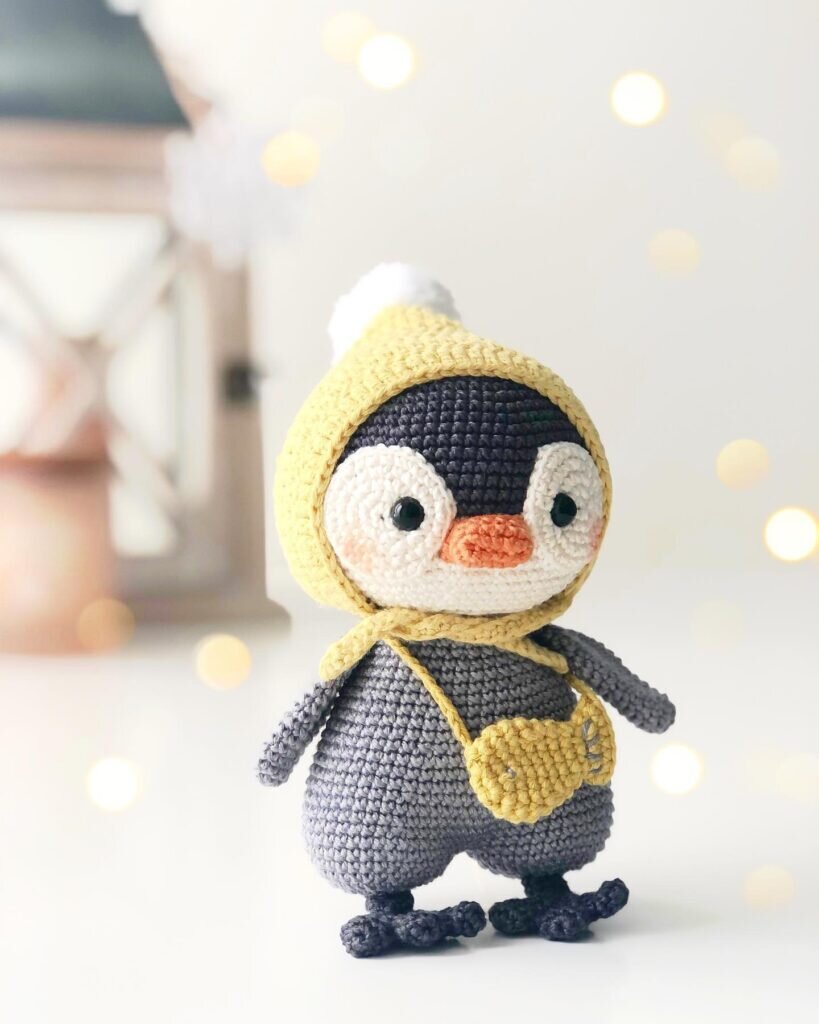
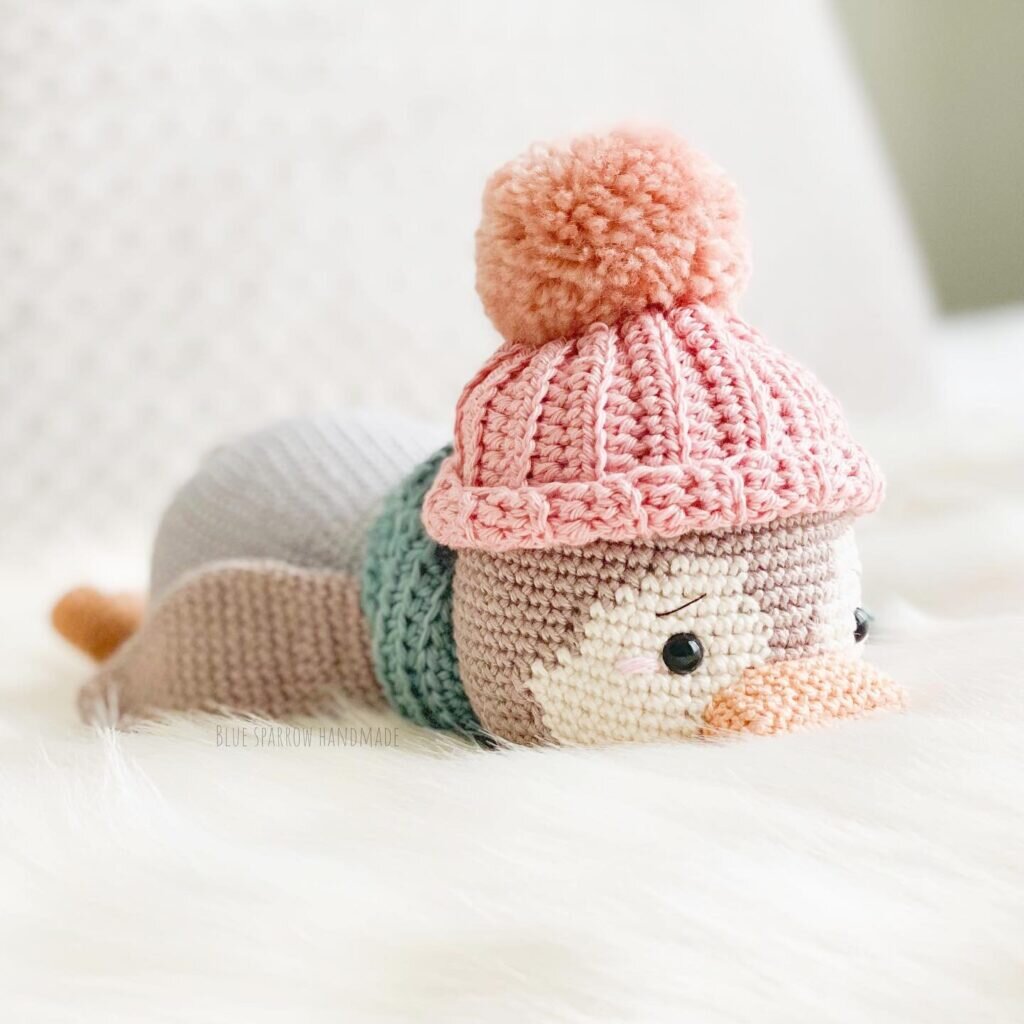
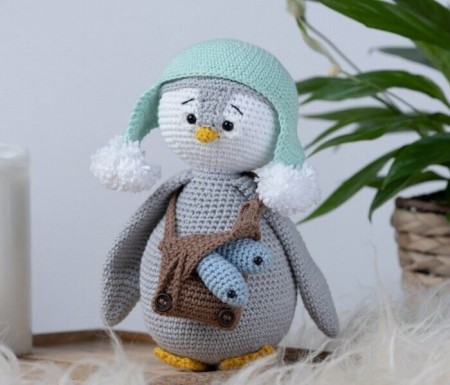
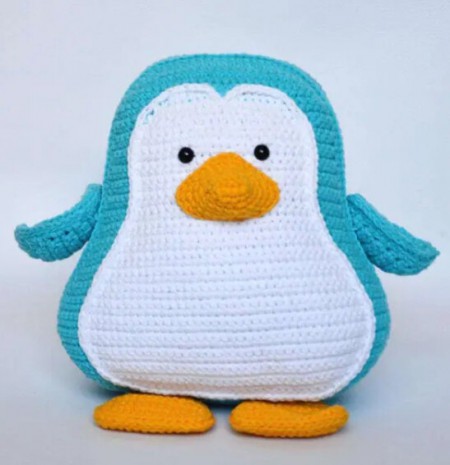
Hello dear Amigurumi enthusiasts! Today I would like to share with you a free Amigurumi Penguin pattern and construction instructions. Amigurumi has become a popular hobby in the world of craftsmanship, and in this article I will present you a great Amigurumi Penguin design. Trust your imagination while doing amigurumi. And dare to create your own unique designs. Welcome to the Amigurumi world, enjoy fun handicraft projects.
Skill level: Beginner
Crochet hook: 2.50 mm
Height: Approx. 22 cm (8.5 inches)
Materials: A piece of black yarn for eyebrows, 2 safety eyes 7 mm, 4 safety eyes 5 mm, stuffing, 2 pompoms approx. 3.5 cm in diameter, 2 buttons 12 mm
Yarn: Rainbow Cotton 8/4
Light Grey (#016) – 2 skeins
White (#001) – 1 skein
Light Brown (#006) – 1 skein
Pastel Mint (#025) – 1 skein
Baby Blue (#032) – 1 skein
Sunny Yellow (#055) – 1 skein
Abbreviations:
ch = chain
sc = single crochet
sl st = slip stitch
mr = magic ring
hdc = half double crochet
inc = increase
dec = decrease
rnd(s) = round(s)
(xx) = number of stitches after ended round
Info and tips:
Always stuff the head and body firmly.
Always stuff between head and body as you sew the head on to avoid a wobbly head.
Work tightly to avoid holes between the stitches.
Everything is crocheted in a spiral except for some parts of the bag.
Wings
Light Grey, make 2
Rnd 1: 3 sc in a mr
Rnd 2: (inc) 3 times (6)
Rnd 3: (1 sc, inc) 3 times (9)
Rnd 4: (2 sc, inc) 3 times (12)
Rnd 5: 1 sc in each st (12)
Rnd 6: (3 sc, inc) 3 times (15)
Rnd 7: 1 sc in each st (15)
Rnd 8: (4 sc, inc) 3 times (18)
Rnd 9: 1 sc in each st (18)
Rnd 10: (5 sc, inc) 3 times (21)
Rnd 11: 1 sc in each st (21)
Rnd 12: (6 sc, inc) 3 times (24)
Rnds 13-33: 1 sc in each st (24)
Rnd 34: (6 sc, dec) 3 times (21)
Rnd 35: (5 sc, dec) 3 times (18)
Fasten off and weave in end. Don’t stuff the wings.
Eyes
White, make 2
Rnd 1: Crochet the following in a mr: 1 sc, 3 hdc, 1 sc, 1 sl st
Fasten off and leave a long tail for assembling, but DON’T tighten the magic ring.
Now, insert the safety eyes into the magic ring and tighten the magic ring.
Body and head
The body and head are crocheted in one piece, beginning with the body.
Begin with Light Grey.
Rnd 1: 6 sc in a mr
Rnd 2: (inc) 6 times (12)
Rnd 3: (1 sc, inc) 6 times (18)
Rnd 4: (2 sc, inc) 6 times (24)
Rnd 5: (3 sc, inc) 6 times (30)
Rnd 6: (4 sc, inc) 6 times (36)
Rnd 7: (5 sc, inc) 6 times (42)
Rnd 8: (6 sc, inc) 6 times (48)
Rnd 9: (7 sc, inc) 6 times (54)
Rnd 10: (8 sc, inc) 6 times (60)
Rnd 11: (9 sc, inc) 6 times (66)
Rnds 12-23: 1 sc in each st (66)
Rnd 24: (9 sc, dec) 6 times (60)
Rnds 25-26: 1 sc in each st (60)
Rnd 27: (8 sc, dec) 6 times (54)
Rnds 28-29: 1 sc in each st (54)
Rnd 30: (7 sc, dec) 6 times (48)
Rnd 31: 1 sc in each st (48)
Rnd 32: (6 sc, dec) 6 times (42)
Stuff the body as you make it.
Rnd 33: 1 sc in each st (42)
Rnd 34: (5 sc, dec) 6 times (36)
Rnds 35-36: 1 sc in each st (36)
Rnd 37: (4 sc, dec) 6 times (30)
Rnd 38: 1 sc in each st (30)
Rnd 39: (3 sc, dec) 6 times (24)
Rnd 40: 1 sc in each st (24)
Attach the wings on the next round. Crochet through all 4 loops.
Rnd 41: 9 sc to attach the first wing, 6 sc, 9 sc to attach the second wing (24)
Rnd 42: 1 sc in each st (24)
Now, make the head, change to White.
Rnd 43: 1 sc in each st (24)
Rnd 44: (3 sc, inc) 6 times (30)
Rnd 45: 2 sc, inc, (4 sc, inc) 5 times, 2 sc (36)
Rnd 46: (5 sc, inc) 6 times (42)
Rnd 47: 3 sc, inc, (6 sc, inc) 5 times, 3 sc (48)
Rnd 48: (7 sc, inc) 6 times (54)
Rnd 49: 4 sc, inc, (8 sc, inc) 5 times, 4 sc (60)
Rnds 50-59: 1 sc in each st (60)
Rnd 60: (8 sc, dec) 6 times (54)
Rnd 61: (7 sc, dec) 6 times (48)
Rnd 62: (6 sc, dec) 6 times (42)
Rnd 63: (5 sc, dec) 6 times (36)
Attach the safety eyes (7 mm) with the white edge between rounds 52-53 with 5 sc in between, be sure you attach the eyes on the front side.
Sew the white part of the eye onto the head with a few stitches and weave in ends.
Stuff the head as you make it.
Rnd 64: (4 sc, dec) 6 times (30)
Rnd 65: (3 sc, dec) 6 times (24)
Rnd 66: (2 sc, dec) 6 times (18)
Rnd 67: (1 sc, dec) 6 times (12)
Rnd 68: (2 sc, dec) 3 times (9)
Fasten off and leave a tail long enough for gathering the last 9 stitches.
Use a needle to gather all 9 stitches through the front loop and tighten the yarn gently to close the hole nicely.
Hood
Light Grey.
Rnd 1: 6 sc in a mr
Rnd 2: (inc) 6 times (12)
Rnd 3: (1 sc, inc) 6 times (18)
Rnd 4: (2 sc, inc) 6 times (24)
Rnd 5: (3 sc, inc) 6 times (30)
Rnd 6: (4 sc, inc) 6 times (36)
Rnd 7: (5 sc, inc) 6 times (42)
Rnd 8: (6 sc, inc) 6 times (48)
Rnd 9: (7 sc, inc) 6 times (54)
Rnd 10: (8 sc, inc) 6 times (60)
Rnds 11-19: 1 sc in each st (60)
Fasten off and leave a tail long enough for sewing.
Nose bridge
Light Grey.
Work in rows and ch 1 to turn at the end of each row.
With the top of the hood pointing towards yourself and counting to the left, skip 22 sc and attach the yarn.
Work the first sc into the stitch where you attached the yarn.
Row 1: 5 sc, ch 1 and turn
Row 2: skip the first st, 4 sc, ch 1 and turn
Row 3: skip the first st, 3 sc, ch 1 and turn
Row 4: 3 sc, ch 1 and turn
Row 5: 3 sc, ch 1 and turn
Row 6: 3 sc, ch 1 and turn
Row 7: 3 sc, ch 1
Fasten off and leave a tail long enough for sewing.
Hat
Pastel Mint.
Rnd 1: 6 sc in a mr
Rnd 2: (inc) 6 times (12)
Rnd 3: (1 sc, inc) 6 times (18)
Rnd 4: (2 sc, inc) 6 times (24)
Rnd 5: (3 sc, inc) 6 times (30)
Rnd 6: (4 sc, inc) 6 times (36)
Rnd 7: (5 sc, inc) 6 times (42)
Rnd 8: (6 sc, inc) 6 times (48)
Rnd 9: (7 sc, inc) 6 times (54)
Rnd 10: (8 sc, inc) 6 times (60)
Rnds 11-19: 1 sc in each st (60)
Now, make the ear flaps. Work in rows and ch 1 to turn at the end of each row. Don’t break off the yarn but continue to make the first ear flap.
Ear flap
Hold the hat with the top pointing towards yourself.
Row 1: 10 sc, ch 1 and turn
Row 2: 10 sc, ch 1 and turn
Row 3: skip the first sc, 9 sc, ch 1 and turn
Row 4: skip the first sc, 8 sc, ch 1 and turn
Row 5: skip the first sc, 7 sc, ch 1 and turn
Row 6: skip the first sc, 6 sc, ch 1 and turn
Row 7: skip the first sc, 5 sc, ch 1 and turn
Row 8: skip the first sc, 4 sc, ch 1 and turn
Row 9: skip the first sc, 3 sc
Fasten off.
Now, make the 2nd ear flap.
Hold the hat with the top pointing towards yourself and count to the left. Skip 20 sc and
attach the yarn, work the first sc in the same stitch where you attached the yarn.
Make an ear flap identical to the first one, don’t break off the yarn when you finish the 2nd ear flap. To make an edge, work sc all the way around the hat, work 2 sc in the same st at the corners of the ear flaps.
Make 2 pompoms approx. 3.5 cm in diameter and sew them onto the tip of the ear flaps.
Nose tip
Sunny Yellow.
Rnd 1: 6 sc in a mr
Rnd 2: 1 sc in each st (6)
Rnd 3: 3 sc, 1 sl st
Fasten off and leave a tail long enough for sewing.
Feet
Sunny Yellow, make 2
Rnd 1: 6 sc in a mr
Rnd 2: (1 sc, inc) 3 times (9)
Rnd 3-6: 1 sc in each st (9)
Rnd 7: (inc) 9 times (18)
Rnds 8-12: 1 sc in each st (18)
Rnd 13: Fold the opening and crochet through all the loops, like this: (2 sc, 1 sl st) 3 times Fasten off and leave a tail long enough for sewing.
Pull the tail for sewing up to the heel.
Bag
Light Brown.
Work on both sides of the chains made in round 1.
Rnd 1: Ch 15
Rnd 2: begin in the 2nd stitch from the hook, inc, 12 sc, 4 sc in the next st, continue on the
opposite side of the chains, 12 sc, 2 sc in the last stitch (32)
Rnds 3-12: 1 sc in each st (32)
DON’T break off the yarn.
Now, make the front flap/fastening of the bag. Work in rows and ch 1 to turn at the end of each row.
Row 13: 2 sc, ch and turn
Rows 14-23: 15 sc, ch 1 and turn (15)
Row 24: 1 sc in each st (15)
Fasten off and weave in end.
Bag strap
Light Brown.
Rnd 1: Ch 58
Rnd 2: Beginning in the 2nd chain from the hook, work 57 sc.
Fasten off and leave a tail long enough for sewing.
Bag fastening
Light Brown, make 2
Ch 20 and fasten off leaving a tail long enough for sewing.
Fish
Baby Blue, make 2
Rnd 1: 3 sc in a mr
Rnd 2: (inc) 3 times (6)
Rnd 3: (1 sc, inc) 3 times (9)
Rnd 4: (2 sc, inc) 3 times (12)
Rnd 5: (3 sc, inc) 3 times (15)
Rnds 6-9: 1 sc in each st (15)
Rnd 10: (3 sc, dec) 3 times (12)
Attach the safety eyes (5 mm) between rounds 4-5 with 5 sc in between.
Stuff the fish lightly as you make it.
Rnds 11-12: 1 sc in each st (12)
Rnd 13: (2 sc, dec) 3 times (9)
Rnd 14: 1 sc in each st (9)
Rnd 15: (1 sc, dec) 3 times (6)
Rnd 16: Fold the opening and crochet through all the loops, like this:
(inc) 3 times (6)
Fasten off
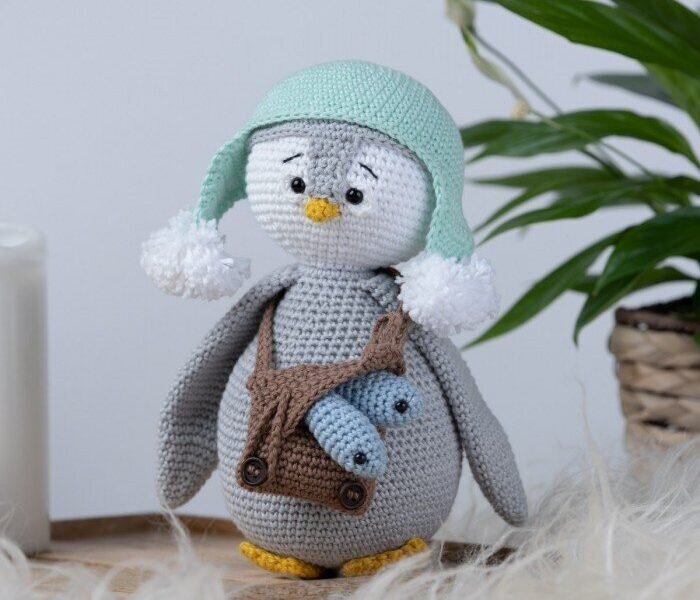
Assembling of the bag
· Sew the buttons on the front.
· Stuff the bottom of the bag slightly.
· Stitch the fish together and place them under the flap.
· Place the fastenings around the button, sew them on and sew the fish on using Light Brown.
· Sew the strap onto the back side but only at one side.
· Place the bag on the penguin with the strap at one side ending down under the wing.
Assembling of Pong
· Place the hood with the nose bridge between the eyes and sew it on.
· Sew the nose tip on right under the nose bridge.
· The hat is not sewn onto the head, but you can sew it on if you like.
· Sew the feet on on round 3 with the edge in line with round 3, sew the foot on nearly to the tip of the toes.
· Embroider eyebrows from round 54-55 across 2 sc.
It's All Finished:
