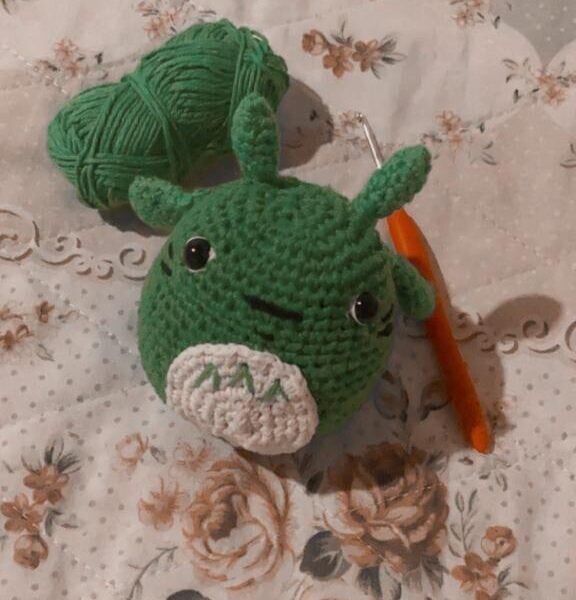
Amigurumi Totoro Free Pattern
Hello dear Amigurumi enthusiasts! Today I would like to share with you a free Amigurumi Free Pattern pattern and construction instructions. Amigurumi has become a popular hobby in the world of craftsmanship, and in this article I will present you a great Amigurumi Free Pattern design. Trust your imagination while doing amigurumi. And dare to create your own unique designs. Welcome to the Amigurumi world, enjoy fun handicraft projects.
Materials
Cotton yarn
2 mm hook size or a size that fits your yarn
2 black 6 mm security eyes
Scissors, Fiberfill, Tapestry needle, Pins
Body
1: 8 sc in MR
2: inc*8 (16)
3: (sc, inc)* 8 (24)
4: (sc, inc , sc) * 8 (32)
5: (3 sc, inc) * 8 (40)
6-11: 40 sc
12: (4 sc , inc)*(48)
13: (inc , 11 sc) * 4 14-21: 52 sc
Place the eyes between 9. and 10. rounds. There should be 11 stitches between 2 eyes.
Make nose along 4 stitches between 9. and 10. rounds.
Make mouth along 2 stitches between 11. and 12. rounds.
Work cheeks between 11. and 12. rounds.
Alternative eyes. Make them between 9-10. rounds.
22: (11 sc, dec)*4 (48)
23: 48 sc
24: (6 sc, dec)* 6 (42)
25: (5 sc, dec) * 6 (36)
26: (4 sc, dec) * 6 (30)
27: (sc, dec)* 10 (20)
Stuff firmly with fiberfill.
28: Dec*10 (10)
29: Dec*5
Cut the yarn and close the remaining stitches.
Tummy
1: 7 sc in MR
2: inc* 7 (14)
3: (sc, inc) * 7 (21)
4: (sc, inc, sc) * 7 (28)
5: (3 sc, inc) * 7 (35)
6: (2 sc, inc, 2 sc) * 7 (42)
Cut the yarn leaving enough for sewing.
Complete the tummy as shown using a needle.
Ears (2 parts)
1: 4 sc in MR
2: (inc, sc) * 2 (6)
3: (inc, 2 sc) * 2 (8)
4-6: 8 sc
7: (dec, 2 sc) * 2 (6)
8: 6 sc, sl st, ch
Cut the yarn leaving enough for sewing.
Stuff looseley with fiberfill.
Hands (2 parts)
1: 6 sc in MR
2: inc* 6 (12)
3-4: 12 SC (12)
5: (dec, 4 sc) * 2 (10)
6: (dec, 3 sc) * 2 (8)
7: (dec, 2 sc) * 2 (6)
8: 6 sc
Sc tog the 2 opposed st (sc3), 1 ch
Cut the yarn leaving enough for sewing.
Sew the arms between 11 and 12. rounds.
Sew the tummy on position
Make inverted v-shaped figures on the tummy using a needle
Sew the ears on position
It's All Finished:
